Practice the basics of bovine handling and VR movement. Teleport into the appropriate zones to move the bull into the adjacent yard.
Starting the Introduction Module
Entering the Module:
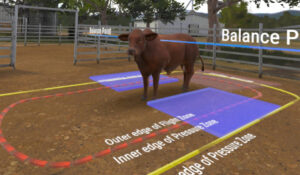
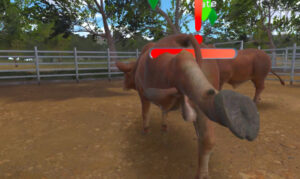
Learning the Balance Point
Understanding the Balance Point:
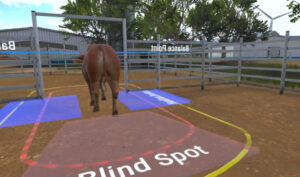
Exploring the Blind Spot
Blind Spot Awareness:
Practicing Movement in the Flight Zone
Positioning for Movement:
Releasing Pressure:
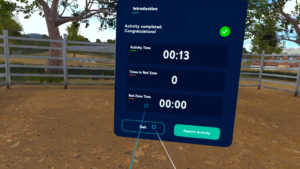
Transition to the next module
Completing the Exercise:
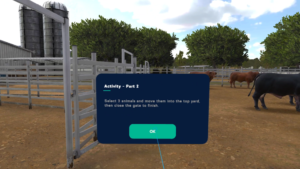
First you must reach the other side of the yard and open the gate. Then move three animals into the top yard, then close the gate to finish.
Entering The Module
Starting the Module:
Executing the Task
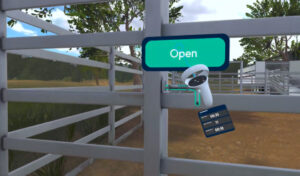
Opening the Gate:
Moving the Cattle:
Handling Challenges:
Using the Yards:
Final Steps
Reflection and Correction:
Closing the Gate:
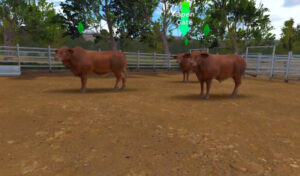
First select three bulls. Then open the gate and move the selected bulls through the gate, then close the gate to finish.
First select three bulls. Then open the gate and move the selected bulls through the gate, then close the gate to finish.
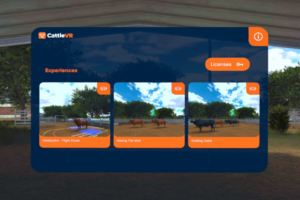
CattleVR is a privately listed application available on Meta and Vive devices, with Pico coming soon.
We can use any of the above manufacturers own app stores for deployment as well as services such as ManageXR and ArborXR.


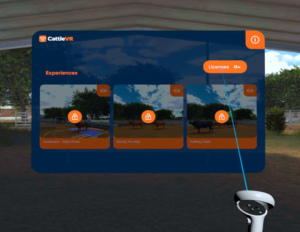
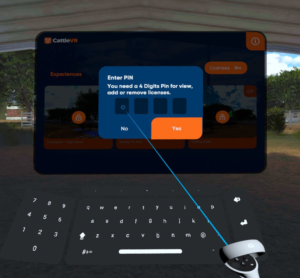
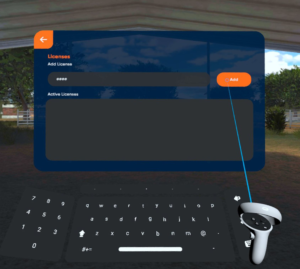
Now that you have installed CattleVR and have been provided your licence key, simply follow the steps below to unlock the CattleVR experiences.
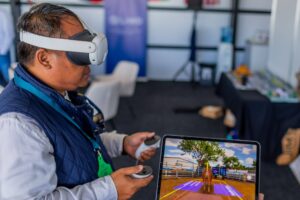
Why should you cast to an external screen?
Casting the VR headset to an external screen offers significant benefits, particularly in an educational setting like CattleVR. When the instructor casts what the student sees onto an external screen, it enhances the learning experience for everyone involved.
How-to
Casting your devices can vary between devices and your network setup. You can use the below links to find the relevant casting methods depending upon your headset manufacturer.
If the below linked methods do not work, it is advised to contact your IT Admin for further assistance.
Found a bug? Please email kat@think.digital or tim@think.digital